
Unity Web AR Example: Free and Comprehensive Guide
Are you looking to dive into the world of Augmented Reality (AR) with Unity? If so, you’ve come to the right place. Unity, a powerful game development platform, offers a plethora of tools and resources to help you create stunning AR experiences. In this article, we’ll explore a free Unity Web AR example, providing you with a detailed, multi-dimensional introduction to get you started on your AR journey.
Understanding Unity Web AR

Unity Web AR allows you to create AR experiences that run directly in a web browser. This means you can reach a wider audience without the need for them to download and install any additional applications. With Unity’s Web AR, you can leverage the camera on their device to overlay digital content onto the real world, creating an immersive and interactive experience.
Setting Up Your Unity Web AR Project
Before you begin, make sure you have the following prerequisites:
- Unity Hub
- Unity Editor
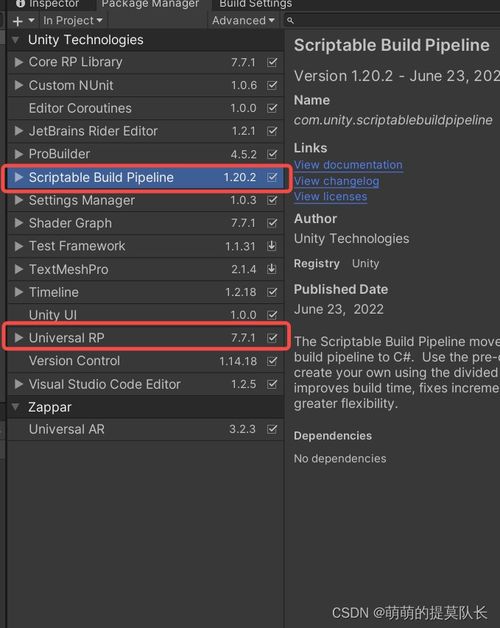
- Unity Web Player package
Follow these steps to set up your Unity Web AR project:
- Open Unity Hub and create a new project.
- Select “3D” as the project type and “WebGL” as the platform.
- Name your project and click “Create Project” to generate a new Unity project.
- In the Unity Editor, go to “Assets” > “Create” > “Package” and select “Web Player” to add the Web Player package to your project.
- Go to “File” > “Build Settings” and select “WebGL” as the platform. Click “Build” to create a WebGL build of your project.
Creating Your First Unity Web AR Experience
Now that you have your Unity Web AR project set up, let’s create a simple AR experience. In this example, we’ll create a basic AR marker that, when scanned, displays a 3D object in the real world.
- In the Unity Editor, create a new 3D object (e.g., a cube) and position it where you want it to appear in the AR experience.
- Go to “Assets” > “Create” > “AR Foundation” > “AR Session Origin” and place it at the origin of your scene.
- Go to “Assets” > “Create” > “AR Foundation” > “AR Session” and place it at the origin of your scene as well.
- Select the AR Session object and go to “Inspector” > “AR Session” > “Tracking” and enable “Marker Tracking” and “Plane Tracking” options.
- Select the AR Session Origin object and go to “Inspector” > “AR Session Origin” > “Tracking” and enable “Marker Tracking” and “Plane Tracking” options.
- Select the 3D object you created earlier and go to “Inspector” > “AR Foundation” > “AR Session Origin” and set the “Parent” field to “AR Session Origin” to ensure the object is correctly positioned in the AR experience.
- Go to “File” > “Build Settings” and select “WebGL” as the platform. Click “Build” to create a WebGL build of your project.
Testing Your Unity Web AR Experience
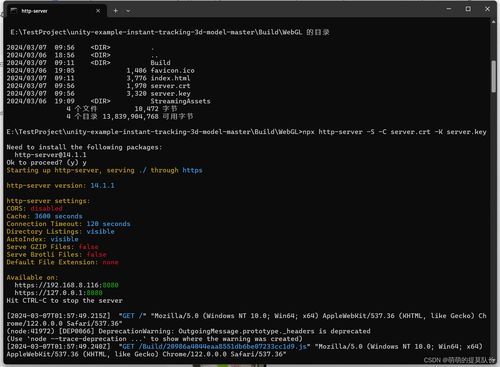
Once you’ve built your WebGL project, you can test your AR experience by opening the generated index.html file in a web browser. Point your device’s camera at the AR marker you created earlier, and you should see the 3D object appear in the real world.
Expanding Your Unity Web AR Skills
Now that you’ve created your first Unity Web AR experience, you can start exploring more advanced features and techniques. Here are some resources to help you expand your skills:
By following this guide, you should now have a solid foundation in creating Unity Web AR experiences. Happy coding!